💻 Install Sshwifty Terminal Server

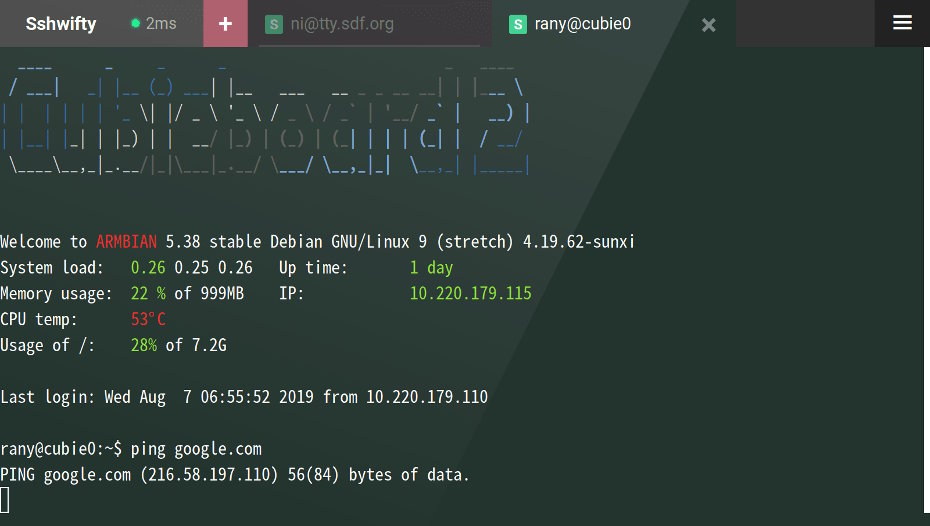
Sshwifty is a SSH and Telnet connector made for the Web. It can be deployed on your computer or server to provide SSH and Telnet access interface for any compatible (standard) web browser.
Info
The project is open-source and can be downloaded here: https://github.com/nirui/sshwifty.
📥 Installation
📋 Requirements
🐳 Install Sshwifty
The use of Docker Compose will automate the installation of sshwifty container.
🔧 Setup Sshwifty Parameters
Before deploying, you need to define a few environment variables that will be used throughout the setup process.
HOST_PORT: external port used by NGINX to route traffic to the serviceSERVER_MSG: text message that will be displayed
# example of configuration for environment parameters
HOST_PORT=10030
SERVER_MSG="Welcome on odroid-c4"
⚙️ Configure Sshwifty for Docker Compose
Sshwifty can be deployed using Docker Compose.
The compose.yml file will automatically incorporate the environment variables configured in the previous step.
You can copy, paste, and run all of the following commands directly in your terminal.
# create docker directory
mkdir sshwifty && cd sshwifty
# setup of compose.yml
tee compose.yml > /dev/null <<EOF
services:
  sshwifty:
    image: niruix/sshwifty:latest
    container_name: sshwifty
    user: "\${PUID}:\${PGID}"
    environment:
      - SSHWIFTY_SERVERMESSAGE=\${SERVER_MSG}
    ports:
      - \${HOST_PORT}:8182
    healthcheck:
      test: ["CMD", "wget", "--spider", "-q", "http://localhost:8182/"]
      start_period: 60s
      start_interval: 5s
      interval: 60s
      timeout: 1s
      retries: 3
    restart: unless-stopped
EOF
# setup of .env file
tee .env > /dev/null <<EOF
###################################################################################
# Run as non-root user
###################################################################################
PUID=`id -u`
PGID=`id -g`

###################################################################################
# NGINX Proxy Configuration
###################################################################################
HOST_PORT=${HOST_PORT}

###################################################################################
# Sshwifty Configuration
###################################################################################
SERVER_MSG="${SERVER_MSG}"
EOF
Keep the .env file
All the secret informations will be stored in the .env file.
🐳 Install Sshwifty with Docker Compose
Now that the compose.yml file has been generated, it's time to install all the containers.
# install and start the container
docker compose up -d
🚀 Deploy Sshwifty
Install NGINX
NGINX needs to be installed, follow the NGINX section.
Configure NGINX
NGINX needs to be configured using a file in /etc/nginx/sites-available directory.
This configuration file specify the documentation path:
server {
  server_name sshwifty.domain.fr;

  # setup 404 error_page
  error_page 404 /404.html;
  include snippets/error-404.conf;

  # reverse proxy
  location / {
    proxy_pass http://127.0.0.1:10030;

    # keep it HTTP/1.1 and enable WebSockets
    proxy_http_version 1.1;
    proxy_set_header Upgrade $http_upgrade;
    proxy_set_header Connection $connection_upgrade;

    # forwarded headers
    include proxy_params;
    proxy_set_header X-Forwarded-Host $host;
    proxy_set_header X-Forwarded-Port $server_port;

    # application-specific tuning
    proxy_read_timeout 600s;
    proxy_send_timeout 600s;
  }
}
# enable site for production
sudo ln -s /etc/nginx/sites-available/sshwifty.domain.fr /etc/nginx/sites-enabled/sshwifty.domain.fr

# restart nginx
sudo nginx -t && sudo service nginx restart
Replace
sshwifty.domain.frby the name of your website.
Activate HTTPS
To activate HTTPS protocol, follow the Let's Encrypt section.