🗂️ Share Files with Sharry
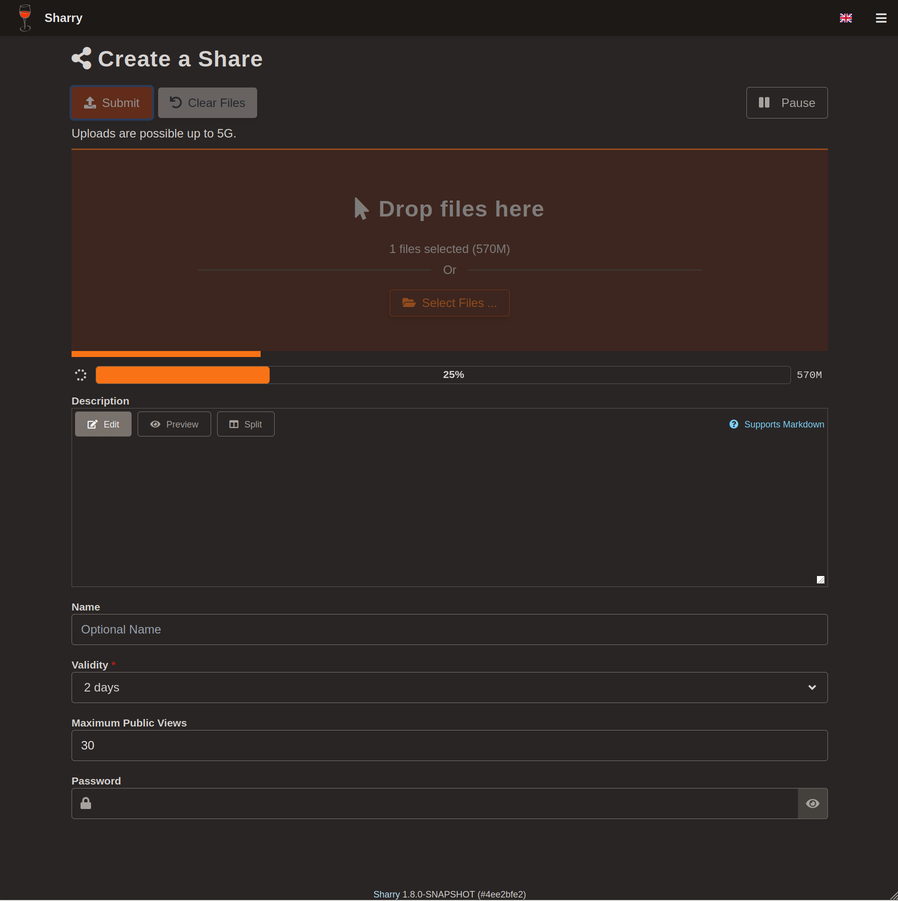
Sharry allows to share files with others in a simple way. It is a self-hosted web application. The basic concept is: upload files and get a url back that can then be shared.
Info
The project is open-source and can be downloaded here: https://github.com/eikek/sharry.
📥 Installation
📋 Requirements
🐳 Install Sharry
The use of Docker Compose will automate the installation of sharry container.
🔧 Setup Sharry Parameters
Before deploying, you need to define a few environment variables that will be used throughout the setup process.
BASE_URL: public URL where the web service is accessibleHOST_PORT: external port used by NGINX to route traffic to the service
# example of configuration for environment parameters
BASE_URL=https://sharry.domain.fr
HOST_PORT=11000
⚙️ Configure Sharry for Docker Compose
Sharry can be deployed using Docker Compose.
The compose.yml file will automatically incorporate the environment variables configured in the previous step.
You can copy, paste, and run all of the following commands directly in your terminal.
# create docker directory
mkdir sharry && cd sharry
mkdir data data/sharry data/postgres-db
# setup of compose.yml
tee compose.yml > /dev/null <<'EOF'
services:
  sharry-server:
    container_name: sharry-server
    user: "${PUID}:${PGID}"
    image: eikek0/sharry:latest
    volumes:
      - ./data/sharry:/data
      - ./config/sharry.conf:/opt/sharry.conf
    ports:
      - ${HOST_PORT}:9090
    command: /opt/sharry.conf
    depends_on:
      sharry-postgres:
        condition: service_healthy
    restart: unless-stopped

  sharry-postgres:
    container_name: sharry-postgres
    user: "${PUID}:${PGID}"
    image: postgres:14-alpine
    volumes:
      - ./data/postgres-db:/var/lib/postgresql/data
    environment:
      - POSTGRES_DB=${PG_DATABASE_NAME}
      - POSTGRES_USER=${PG_USERNAME}
      - POSTGRES_PASSWORD=${PG_PASSWORD}
    healthcheck:
      test: ["CMD-SHELL", "pg_isready -U ${PG_USERNAME} -d ${PG_DATABASE_NAME}"]
      start_period: 30s
      retries: 5
    restart: unless-stopped
EOF
# setup of .env file
tee .env > /dev/null <<EOF
###################################################################################
# Run as non-root user
###################################################################################
PUID=`id -u`
PGID=`id -g`

###################################################################################
# NGINX Proxy Configuration
###################################################################################
BASE_URL=${BASE_URL}
HOST_PORT=${HOST_PORT}

###################################################################################
# Postgres Database Configuration
###################################################################################
PG_DATABASE_NAME=sharrydb
PG_USERNAME=sharry
PG_PASSWORD=`openssl rand -hex 16`

###################################################################################
# Sharry Configuration - Injected in sharry.conf
###################################################################################
SHARRY_USER=admin
SHARRY_PASSWORD=`openssl rand -hex 16`
SHARRY_CHUNK_SIZE=20M
SHARRY_MAX_SIZE=50G
EOF
Keep the .env file
All the secret informations will be stored in the .env file.
📋 Create the sharry.conf configuration file
# retrieve informations from .env file
PG_DATABASE_NAME=`grep PG_DATABASE_NAME .env | awk -F= '{print $2}'`
PG_USERNAME=`grep PG_USERNAME .env | awk -F= '{print $2}'`
PG_PASSWORD=`grep PG_PASSWORD .env | awk -F= '{print $2}'`
SHARRY_USER=`grep SHARRY_USER .env | awk -F= '{print $2}'`
SHARRY_PASSWORD=`grep SHARRY_PASSWORD .env | awk -F= '{print $2}'`
SHARRY_CHUNK_SIZE=`grep SHARRY_CHUNK_SIZE .env | awk -F= '{print $2}'`
SHARRY_MAX_SIZE=`grep SHARRY_MAX_SIZE .env | awk -F= '{print $2}'`

# create sharry.conf configuration file
tee config/sharry.conf > /dev/null <<EOF
sharry.restserver {
  base-url = "${BASE_URL}"
  bind {
    address = "0.0.0.0"
    port = 9090
  }
  webapp {
    app-name = "Send"
    chunk-size = "${SHARRY_CHUNK_SIZE}"
    app-footer-visible = false
  }
  backend {
    auth {
      fixed {
        enabled = true
        user = "${SHARRY_USER}"
        password = "${SHARRY_PASSWORD}"
      }
    }
    jdbc {
      url = "jdbc:postgresql://sharry-postgres:5432/${PG_DATABASE_NAME}"
      user = "${PG_USERNAME}"
      password = "${PG_PASSWORD}"
    }
    files {
      default-store = "filesystem"
      stores = {
        filesystem = {
          enabled = true
          type = "file-system"
          directory = "/data"
          clean-empty-dirs = true
        }
      }
    }
    compute-checksum {
      enable = false
    }
    signup {
      mode = "closed"
    }
    share {
      chunk-size = "${SHARRY_CHUNK_SIZE}"
      max-size = "${SHARRY_MAX_SIZE}"
      max-validity = "100 days"
    }
    cleanup {
      enabled = true
      interval = "1 days"
      invalid-age = "1 days"
    }
  }
}
EOF
🐳 Install Sharry with Docker Compose
Now that the compose.yml file has been generated, it's time to install all the containers.
# install and start the container
docker compose up -d
🚀 Deploy Sharry
Install NGINX
NGINX needs to be installed, follow the NGINX section.
Configure NGINX
NGINX needs to be configured using a file in /etc/nginx/sites-enabled directory.
This configuration file specify the documentation path:
server {
  server_name sharry.domain.fr;

  # setup 404 error_page
  error_page 404 /404.html;
  include snippets/error-404.conf;

  # reverse proxy
  location / {
    proxy_pass http://127.0.0.1:11000;

    # keep it HTTP/1.1 and enable WebSockets
    proxy_http_version 1.1;
    proxy_set_header Upgrade $http_upgrade;
    proxy_set_header Connection $connection_upgrade;

    # forwarded headers
    include proxy_params;
    proxy_set_header X-Forwarded-Host $host;
    proxy_set_header X-Forwarded-Port $server_port;

    # timeouts for long-running websocket/exec sessions
    proxy_read_timeout 3600;
    proxy_send_timeout 3600;

    # specific configuration
    client_max_body_size     0;                     # unlimited
    client_body_timeout      7200s;                 # allow long uploads from clients
    send_timeout             7200s;                 # allow slow receivers
    proxy_request_buffering  off;                   # uploads: stream to upstream
    proxy_buffering          off;                   # downloads: stream to client
    proxy_max_temp_file_size 0;                     # never spill big responses to disk
    proxy_force_ranges       on;                    # preserve ranges (resume / partial reads)
    add_header Cache-Control "no-transform" always; # don't let intermediaries "optimize" the payload
  }
}
# restart nginx
sudo nginx -t && sudo service nginx restart
Replace
sharry.domain.frby the name of your website.
Replacealias /path/icons/by the path of your custom icons.
Activate HTTPS
To activate HTTPS protocol, follow the Let's Encrypt section.