🐳 Installing Dockge
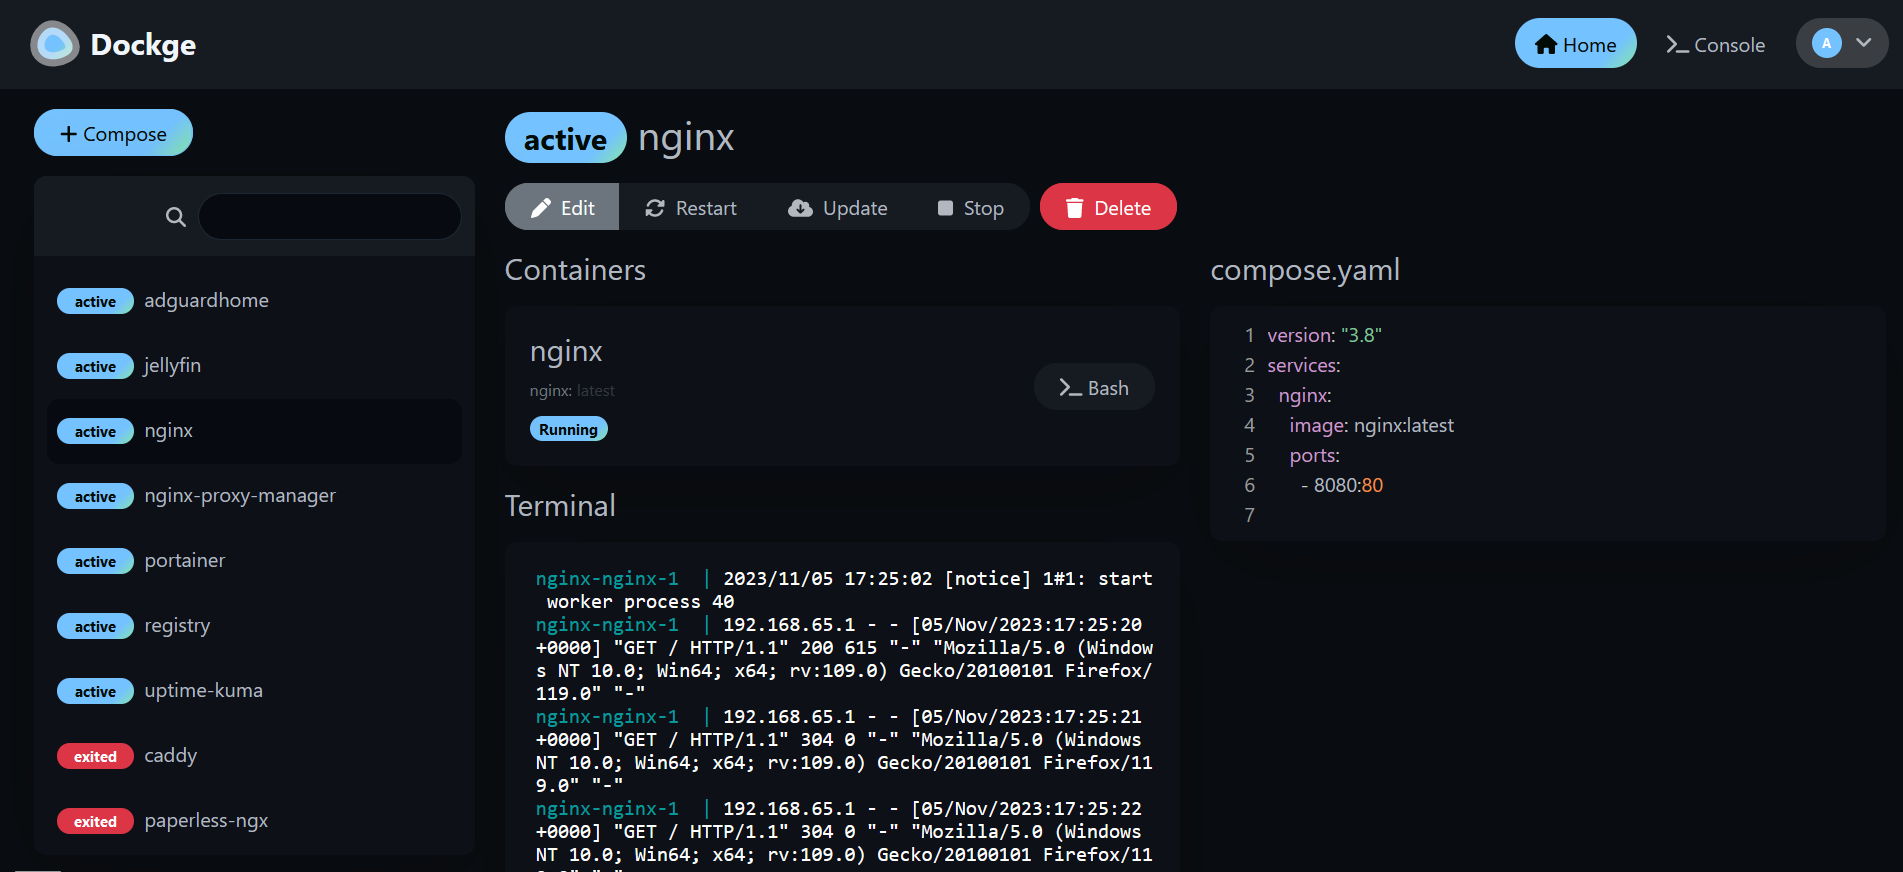
Dockge is a fancy, easy-to-use and reactive self-hosted docker-compose stack-oriented manager.
Features:
- 🔓 It is open-source
- 🧑💼 Manage your compose.yaml files
- ⌨️ Interactive Editor for compose.yml
- 🦦 Interactive Web Terminal
Info
The project is open-source and can be downloaded here: https://github.com/louislam/dockge.
📥 Installation
📋 Requirements
🐳 Install Dockge
The use of Docker Compose will automate the installation of dockge container.
🔧 Setup Dockge Parameters
Before deployment, define the following environment variables. These values will be used throughout the setup and configuration process.
HOST_PORT: external port used by NGINX to route traffic to the serviceDOCKER_DIR: path to the directory where all Docker containers are defined
# example of configuration for environment parameters
HOST_PORT=14000
DOCKER_DIR=/path/to/docker/containers
⚙️ Configure Dockge for Docker Compose
Dockge can be deployed using Docker Compose.
The compose.yml file will automatically incorporate the environment variables configured in the previous step.
You can copy, paste, and run all of the following commands directly in your terminal.
# create docker directory
mkdir dockge && cd dockge
mkdir data
# setup of compose.yml
tee compose.yml > /dev/null <<'EOF'
services:
  dockge:
    container_name: dockge
    user: "${PUID}:${PGID}"
    image: louislam/dockge:1
    volumes:
      - /var/run/docker.sock:/var/run/docker.sock
      - ./data:/app/data
      - ${DOCKER_DIR}:${DOCKER_DIR}
    environment:
      - DOCKGE_STACKS_DIR=${DOCKER_DIR}
    ports:
      - ${HOST_PORT}:5001
    restart: unless-stopped
EOF
# setup of .env file
tee .env > /dev/null <<EOF
###################################################################################
# Run as non-root user
###################################################################################
PUID=`id -u`
PGID=`id -g`

###################################################################################
# NGINX Proxy Configuration
###################################################################################
HOST_PORT=${HOST_PORT}

###################################################################################
# Dockge Configuration
###################################################################################
DOCKER_DIR=${DOCKER_DIR}
EOF
Save the .env informations
All the secret informations are defined in the .env file.
🐳 Install Dockge with Docker Compose
Now that the compose.yml file has been generated, it's time to install all the containers.
# install and start the container
docker compose up -d
🚀 Deploy Dockge
Install NGINX
NGINX needs to be installed, follow the NGINX section.
Configure NGINX
NGINX needs to be configured using a file in /etc/nginx/sites-enabled directory.
This configuration file specify the documentation path:
server {
  server_name dockge.domain.fr;

  # setup 404 error_page
  error_page 404 /404.html;
  include snippets/error-404.conf;

  # reverse proxy
  location / {
    proxy_pass http://127.0.0.1:14000;

    # keep it HTTP/1.1 and enable WebSockets
    proxy_http_version 1.1;
    proxy_set_header Upgrade $http_upgrade;
    proxy_set_header Connection $connection_upgrade;

    # forwarded headers
    include proxy_params;
    proxy_set_header X-Forwarded-Host $host;
    proxy_set_header X-Forwarded-Port $server_port;

    # timeouts for long-running websocket/exec sessions
    proxy_read_timeout 3600;
    proxy_send_timeout 3600;

    # avoid buffering for interactive streams
    proxy_buffering off;
  }
}
# restart NGINX
sudo nginx -t && sudo service nginx restart
Replace
dockge.domain.frby the name of your website.
Replacealias /path/icons/by the path of your custom icons.
Activate HTTPS
To activate HTTPS protocol, follow the Let's Encrypt section.
Activate Admin Account
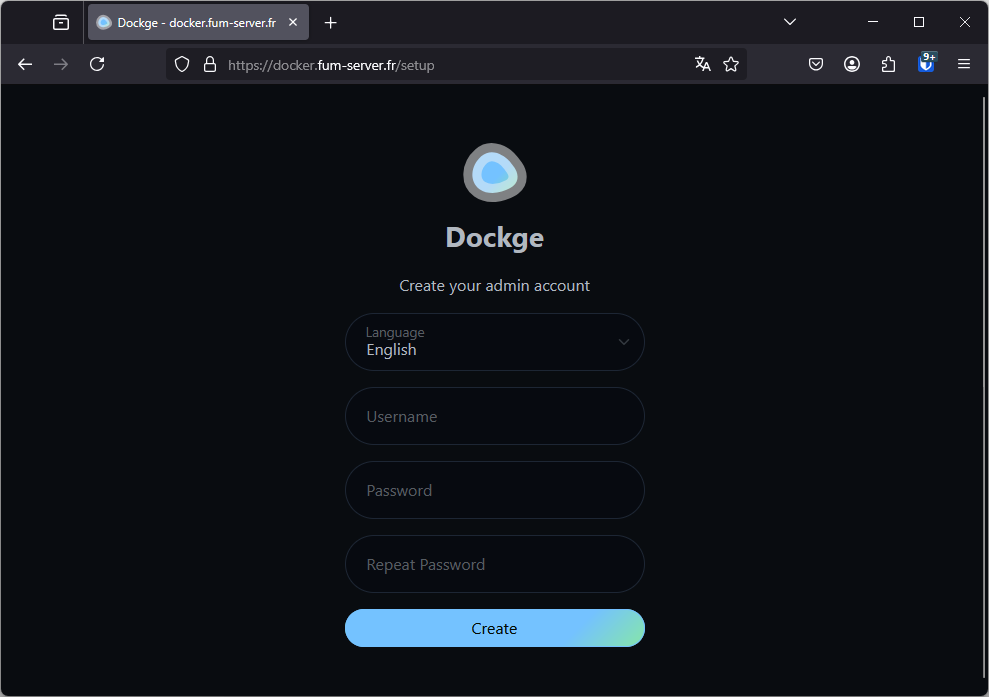
Create the admin account:
- Login to https://dockge.domain.fr/setup
- Enter the username
- Enter the password
- Click on Create