💻 Installing gokapi
gokapi is a simple, self-hosted file sharing server with automatic expiration and encryption support — ideal for teams or individuals who want privacy, control, and no clutter.
Features:
- ⏳ File shares automatically expire after a chosen number of downloads or days
- 👥 User roles provide controlled access so only registered users can upload
- 🔁 Identical files are deduplicated to avoid wasting storage space
- ☁️ Files can be stored in AWS S3 or any S3-compatible service if desired
- 🔐 Uploads can be encrypted, including full end-to-end encryption
Info
The project is open-source and can be downloaded here: https://github.com/Forceu/Gokapi.
📥 Installation
📋 Requirements
🐳 Install gokapi
The use of Docker Compose will automate the installation of gokapi container.
🔧 Setup gokapi Parameters
Before deploying, you need to define a few environment variables that will be used throughout the setup process.
HOST_PORT: external port used by NGINX to route traffic to the service
# example of configuration for environment parameters
HOST_PORT=10045
⚙️ Configure gokapi for Docker Compose
gokapi can be deployed using Docker Compose.
The compose.yml file will automatically incorporate the environment variables configured in the previous step.
You can copy, paste, and run all of the following commands directly in your terminal.
# create docker directory
mkdir gokapi && cd gokapi
mkdir -p data/gokapi data/config
# setup of compose.yml
tee compose.yml > /dev/null <<'EOF'
services:
  gokapi:
    image: docker.io/f0rc3/gokapi:latest
    container_name: gokapi
    user: "${PUID}:${PGID}"
    volumes:
      - ./data/gokapi:/app/data:rw
      - ./data/config:/app/config:rw
    environment:
      - TZ=Europe/Paris
    ports:
      - ${HOST_PORT}:53842
    healthcheck:
      test: ["CMD", "curl", "-fsS", "-o", "/dev/null", "http://localhost:53842/"]
      start_period: 180s
      start_interval: 5s
      interval: 60s
      timeout: 1s
      retries: 3
    restart: unless-stopped
EOF
# setup of .env file
tee .env > /dev/null <<EOF
###################################################################################
# Run as non-root user
###################################################################################
PUID=$(id -u)
PGID=$(id -g)

###################################################################################
# NGINX Proxy Configuration
###################################################################################
HOST_PORT=${HOST_PORT}
EOF
Keep the .env file
All the secret informations will be stored in the .env file.
🐳 Install gokapi with Docker Compose
Now that the compose.yml file has been generated, it's time to install all the containers.
# install and start the container
docker compose up -d
🚀 Deploy gokapi
Install NGINX
NGINX needs to be installed, follow the NGINX section.
Configure NGINX
NGINX needs to be configured using a file in /etc/nginx/sites-enabled directory.
This configuration file specify the documentation path:
server {
  server_name gokapi.domain.fr;

  # setup 404 error_page
  error_page 404 /404.html;
  include snippets/error-404.conf;

  # reverse proxy
  location / {
    proxy_pass http://127.0.0.1:10045;

    # keep it HTTP/1.1
    proxy_http_version 1.1;

    # websocket support (required for real-time notifications)
    proxy_set_header Upgrade $http_upgrade;
    proxy_set_header Connection "upgrade";

    # forwarded headers
    include proxy_params;
    proxy_set_header X-Forwarded-Host $host;
    proxy_set_header X-Forwarded-Port $server_port;

    # application-specific tuning
    proxy_read_timeout 3600s;
    proxy_send_timeout 3600s;
    client_body_timeout 3600s;
    client_max_body_size 50G;
    proxy_buffering off;
    proxy_redirect off;
  }
}
# restart nginx
sudo nginx -t && sudo service nginx restart
Replace
gokapi.domain.frby the name of your website.
Activate HTTPS
To activate HTTPS protocol, follow the Let's Encrypt section.
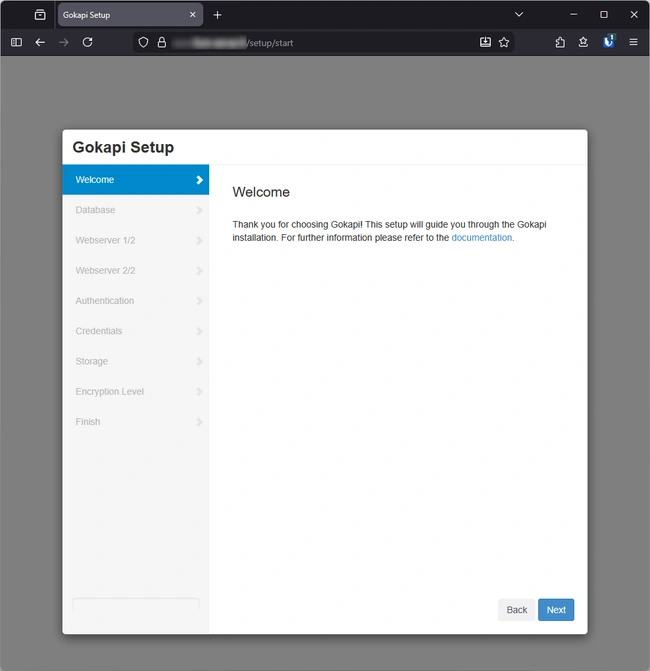
⚙️ Configure gokapi
Set up the gokapi admin account immediately
A fresh Gokapi installation exposes an unsecured admin setup interface. To protect your uploads and credentials, you must complete the admin account setup as soon as the service is started.
Open the setup page at: https://gokapi.domain.fr/setup
Recommended settings:
- Use SSL: No
- Public facing URL:
https://gokapi.domain.fr/ - Redirection URL for the index:
https://gokapi.domain.fr/login